Or is that an oncoming train?? 🙂
I did not do so well with posting twice a week – however, I do believe I will have the outfit completed tomorrow, or rather later today. And that is because it is the last day my friend is able to meet me, drive me to a stone built church in town that has the look of old English churches which I think will suit photos of the outfit very well.
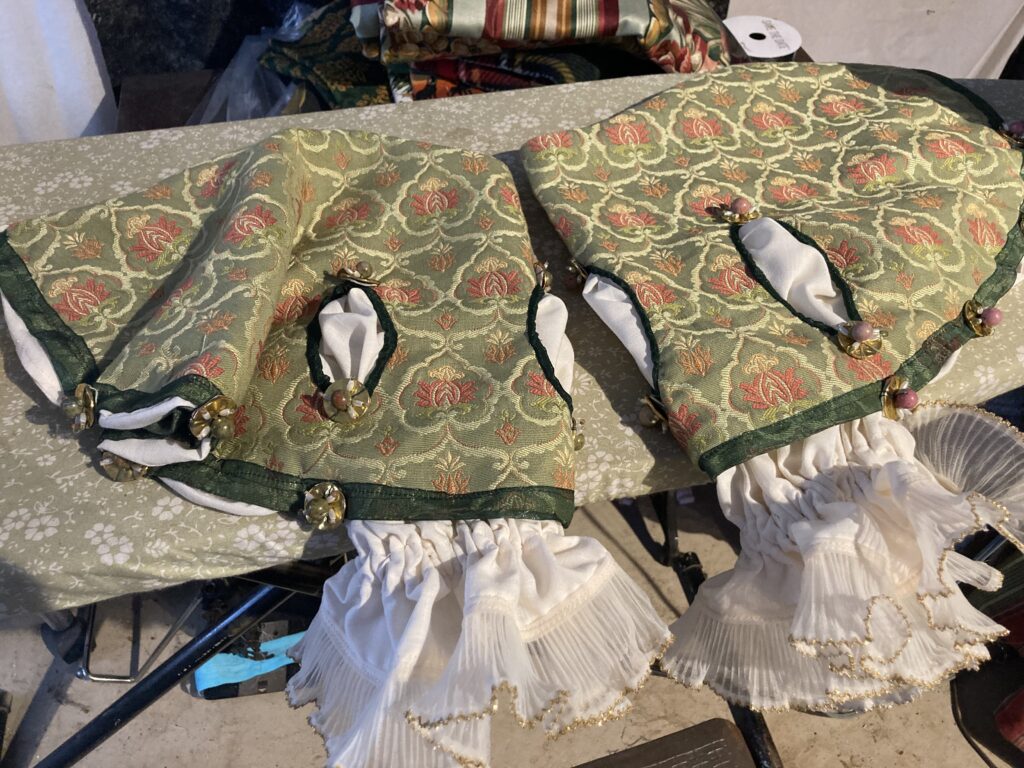
Since my last check-in I have completed the “false sleeves”. These are the components that the images, and pattern I have, showed decorated with buttons. However not finding anything commercially I liked for the sleeves I made my own pieces to function as buttons.

I am pretty happy with how these turned out overall though I am sure I will fiddle with some details that no one else would ever notice.
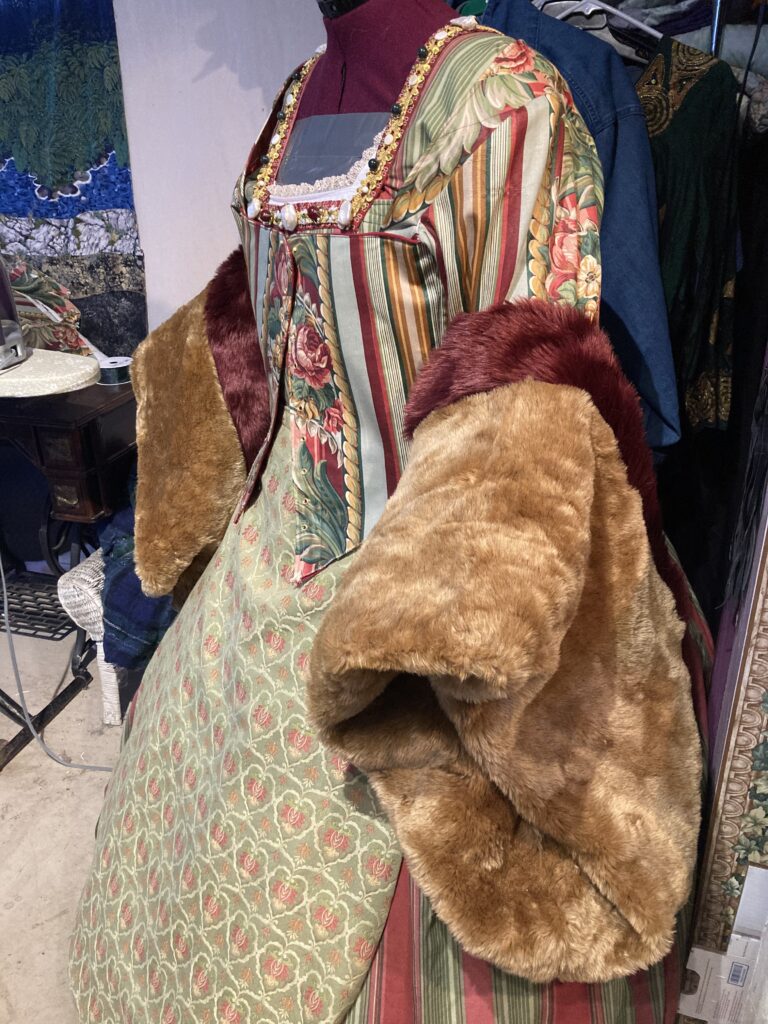
As I mentioned, I think at least twice, that I am a fan of the CREATIVE portion of the SCA. As such I wanted to find a way that would let me wear the gown during warmer weather. And quite often the turned back sleeves are shown as being made of fur. While I like that look I know I could not handle the heat generated during inside events – so I created false sleeve linings and added hooks and eyes along the seam of the upper and lower sleeve pieces INSIDE the sleeve and more at the outside edge to hold it in place.

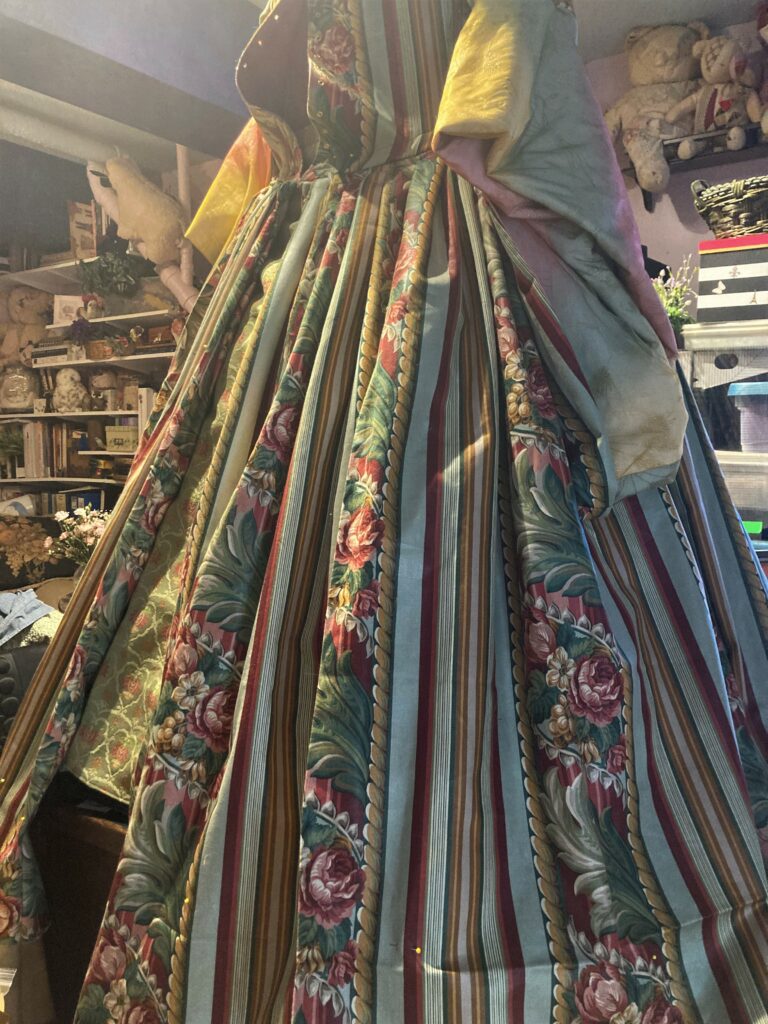
I then FINALLY sewed together the panels of the gown’s skirt. Here is where my head began to REALLY hurt!
I read the pattern instructions at LEAST six times and I still have little idea what the heck they were trying to get me to do. What I finally realized is they were talking about doing two types of pleats for four different sections: Left Back, Right Back, Left Front & Right Front. One of the things to be aware of is the directions of the pleats.
So tossing the formal directions aside I based the pleating on measurements. I measured the total length of the top/waist edge (46″) and compared it to what I neede each back section to be to fit the bodice (13″) and then pleated by eye, heavily pinning the pleats and gatherings. Then running the piece through my machine with the largest stitch available to baste them in place. Repeat for three other sections.

Fun fact – when I started to attach the bodice to the skirt I broke two needles right away. This is a home fashion weight fabric – pleated – attaching to a bodice stiffened with Duck Cloth – and interfacing.
Dear Lord.
Leather needle to the rescue!
And while the directions said to press towards the bodice and clean finish edges – that was NOT going to work. Instead I used twill tape to cover the seam to prevent raveling and fraying.
And boy oh boy is this gown a monster. As in – I could carry it around my house and it would qualify as a weight bearing exercise. I definitely will be weighing everything tomorrow.
Well, I need to finish my Hood before I go to bed.
Oh – and the outfit on the mannequin I lift onto my antique desk (aka sewing table) to mark out the hem length. Because while I could get down onto the concrete floor to do it – getting back up might be the issue.

