Happy Thursday Everybody! Before I kick off my progress post, I’d like to address a couple of questions I received on last week’s post. I did not forget about you, but there’s a lot of documentation attached to those, so I’d like to dedicate a separate post to them. I’ll get that up Friday or Saturday. Now, on to the gown.
I Probably should have started with this last week, but this is the concept sketch for this project
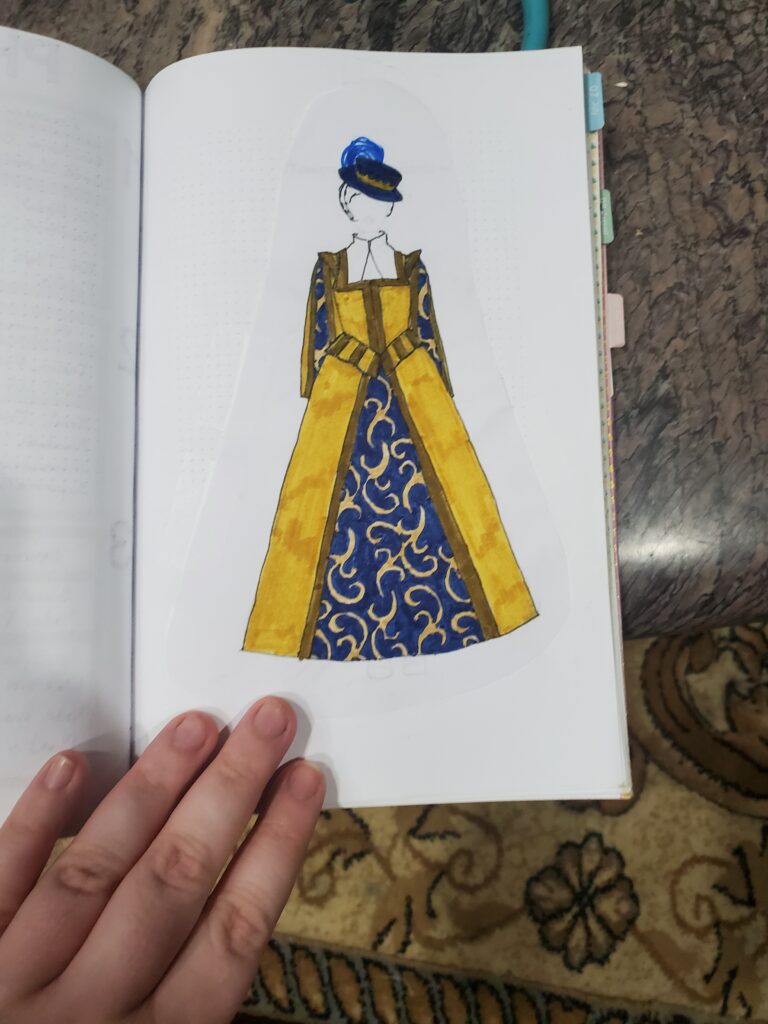
The blue Brocade sections will be in Sunday’s post, and then we move on to the gold gown. Until now, you’ve actually only seen underlayers. Last post I gave you a bit of a teaser for the kirtle, and it’s almost done.
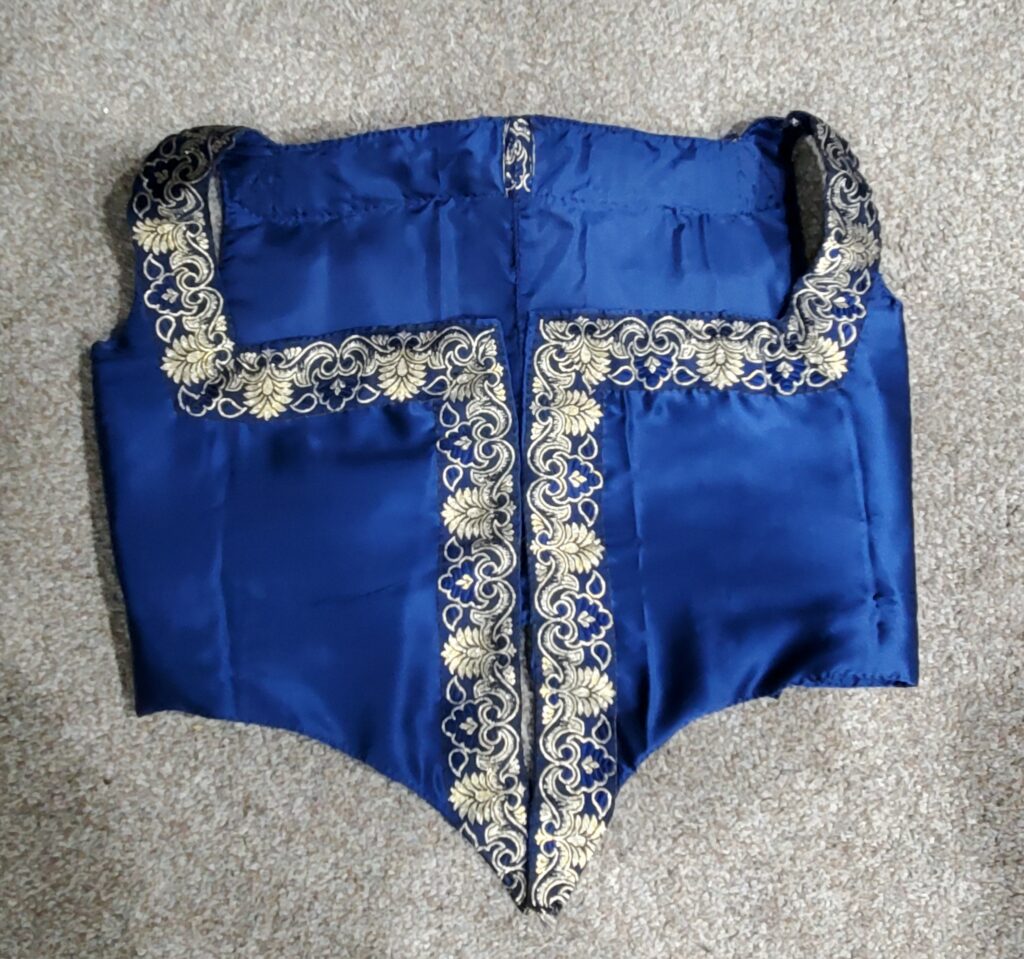
I build my kirtles as four finished panels, tightly whipstitched together. The reason I do this is actually for tailoring. My weight tends to fluctuate, and this allows me a little bit more freedom in tailoring later, without taking out the entire lining.


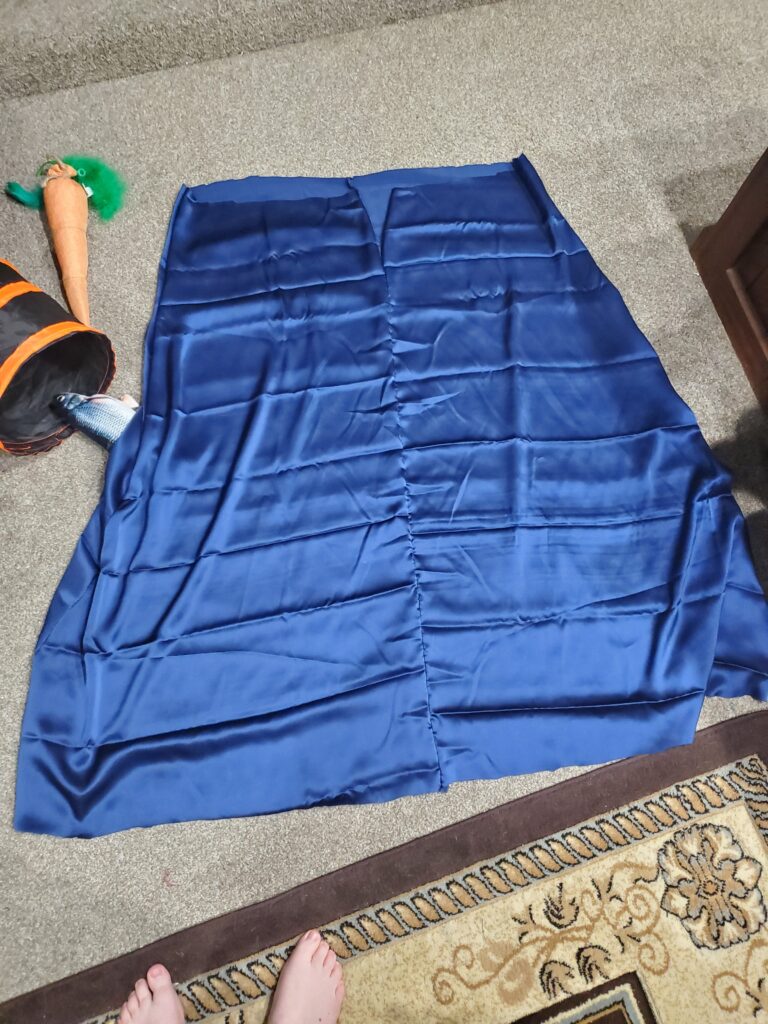
The skirt is also assembled in 4 panels, with a short split at the front center to fit over the shoulders. The front panels are the same size, and the back panels are gathered to fit. this gives the skirt the proper silhouette.
I gather the skirt onto the bodice using quilting clips. Because the bodice edge is already finished, this is a lot easier than pinning through 6-8 layers of fabric. When it’s finished, it looks like this (with bonus kitty!):

I haven’t completed the hooks and eyes yet, but here it is pinned over the undergarments:
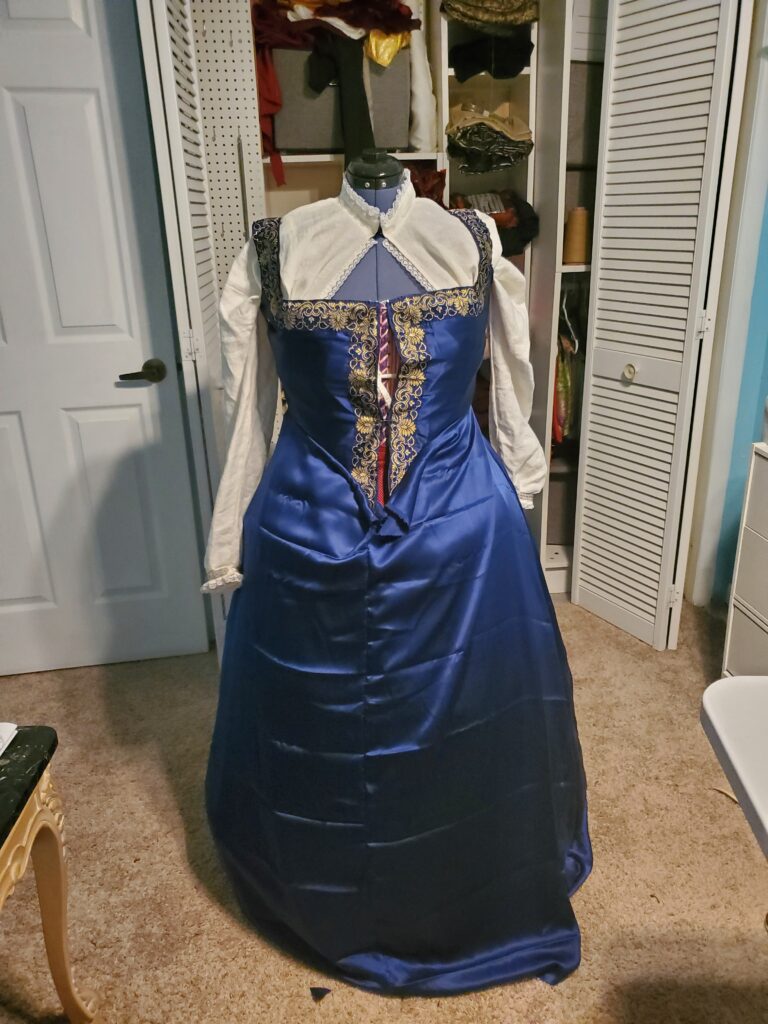
I’ll be finishing this tomorrow, then we move on to sleeves and the forepart. Also, We will be changing models. Since it is really hard to show off sleeves on my mannequin’s noodle arms, my lovely husband has (been) volunteered to play photographer! So from now on, I will actually be wearing all the new pieces. Tomorrow also has me starting the bead embroidery on the gown, so I’ll make sure to get close ups. This is only my second time doing it, so fingers crossed!

You’ve been busy!
I’d love to see a few more close-up photos of the construction of your bodice–how you worked the seams, etc. And, once they’re done, the hooks and eyes attached close-up. (this is all so much harder at a distance!)
How many layers are in the blue satin bodice as constructed? Since it’s all together and finished, it’s hard to tell…
Hi Beatrice,
The bodice is 3 layers- fashion fabric, a core of linen canvas, and lining. The linen canvas is cut to size (no seam allowance) and “wrapped” in fashion fabric and basted. The lining is then prick stitched to cover the seam allowances. The four body panels are whip stitched together.
It doesn’t look like I can add pictures to the comments, so if it’s ok I’ll add them to the “bonus post” for tomorrow.