C. Placing the Pieces Together
1. The Left Panel’s Placement
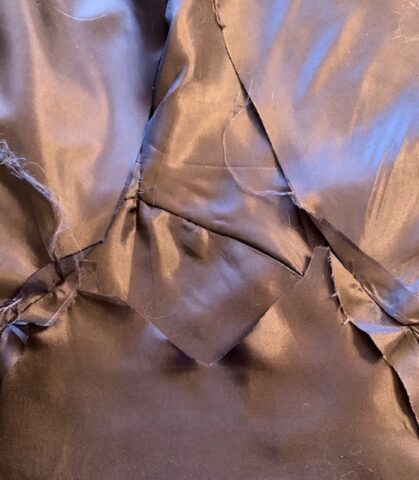
The right side’s placement on the whole side is straightforward. Place the wedge up against where it fits to front and back panels flaring out slightly where the waist ends and the hips begin. The left side is trickier.
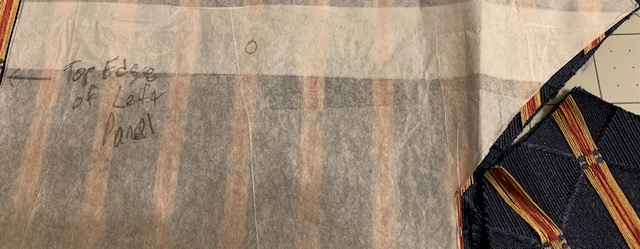
Because the left side of the saya is open, the placement of the left panel gets determined by geometry. I placed the left wedge where the right one would go, and went in a line across to the open side of the saya‘s front and back panels, and placed a pin where I would put the top points of the left wedge.
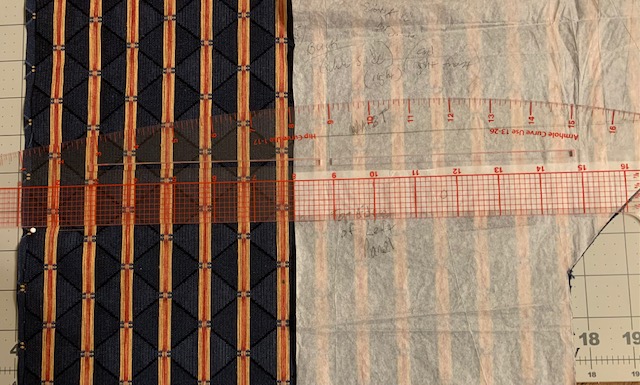
2. The Right Panel’s Placement
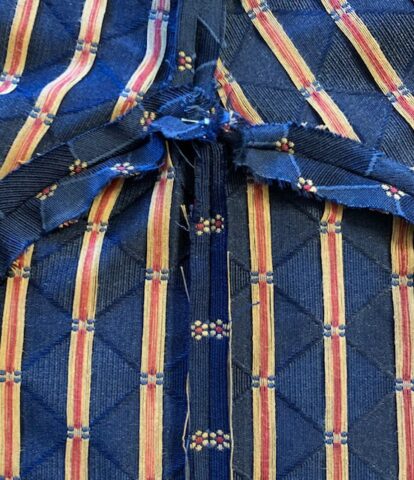
I was not as careful as I should have been when I cut the fabric, so I had to sew two squares together and then fold it so that I could cut the right side wedge. That seam was not down the center but off a little bit to one side, so I placed that seam closer to the back panel’s edge. I learned from my mistake and was more careful cutting the liner so that wedge is whole.
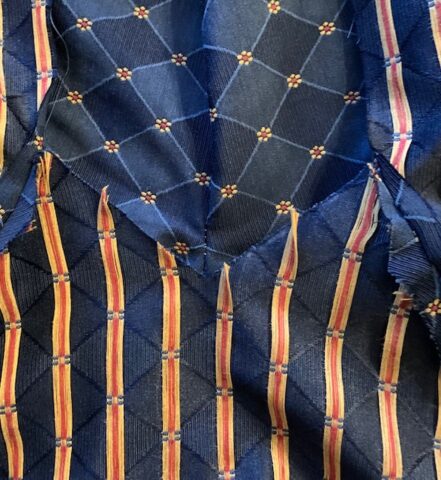
D. Pinning the Liner and Fabric Together
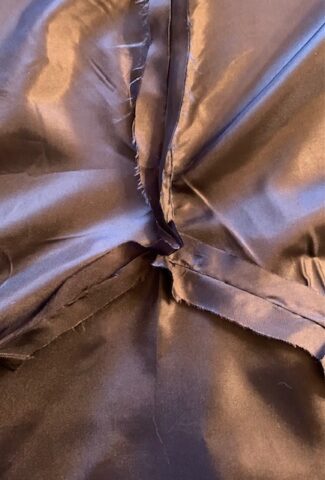
So here is the liner and the fabric pressed and pinned, right sides together. These are machine sewn except for the shoulders and part of the outer edges of the sides at the top, the liner will be turned inside, and all of the turned edges will be under-stitched by hand. It happens that I only had enough fabric for interlining for the pellote, and since that too-light wool needed the support more than the saya, the saya will be doing without interlining.

E. The Occupational Hazard
A certain four-footed resident of this household loooooves to lay down on fabric, particularly liner, any chance he can. I had started sewing the fabric to the liner, had taken a break for dinner in the den, and came back to this. He left under protest.
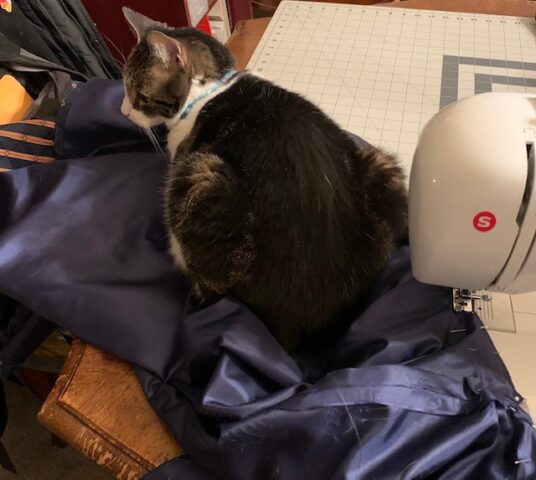

Showing photos of cats infesting your sewing project is a great way to score points with certain judges 🙂
The intent was for a chuckle, and in solidarity with any others out there with four-footed housemates that happen to like fabric. This one loves velour more than he loves liner, and will start kneading velour if given the chance.
I am machine-hemming the dress this afternoon, and looking ahead to intense negotiations with the cat who will want to appropriate the dress for a bed while I am hemming it.