This week has truly been a rocky one for my life. The students were all told about returning in person, the weather is changing, and my supervising teacher and I got the vaccines (#1!) this week, and had a whole day where we were both out of it. I have to say, the students I work with are dealing with a lot and the mixture of stress and relief they are feeling is hard to process.
In the world of crafting, I have done other things, non-COVID related. I took the time this week to make my pattern. I have seen several versions of this pattern, Period Patterns has one, and there is another version in Reconstructing History. I have also read several other seamstress accounts on what they made and how they constructed the dress.
My decision is to make a plastron, which is the panel not unlike a stomacher which fits between the bodice edges and creates a stabilizer for the bodice shape. This plastron will have a a Brustfleck, the embroidered panel which is visible in our portrait.
But first! The mock up.

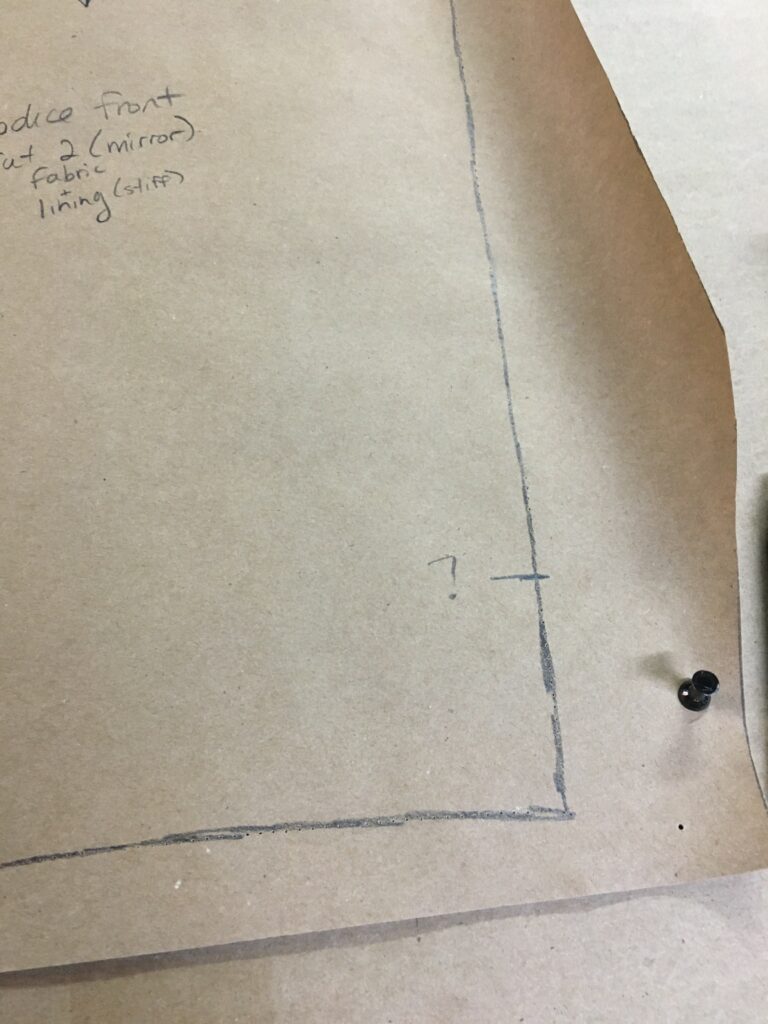
I am using a tailor’s ruler and a pounce wheel on a brown paper covered table. Under the paper is corkboard, so I can pin and draft right on the table. It makes the most consistent patterns I’ve made so far.

I know the general shape of the construction is triangular, with the waist tight and the chest measurement snug but not tight. I’m using my bust measurement as my widest one, and spread this out over the whole of the front and back pieces. The plastron needs to specifically be where I want the front embellishment and sides of the bodice to end up. I have those measurements and will check the fit in the mock up I plan to make first.

I have done the math and the pattern pieces match up with each other on each side. But I already look at this pattern and see that it is too long. My torso is pretty known to me, and I bet I have to shorten this side, and will have to do both front and back to make the pattern line up as I want.

The front bodice looks strange, because the bodice will end almost like a vest would, without the ability to close. The plastron will be the connection, and it will lay as a “flat” panel in the front.

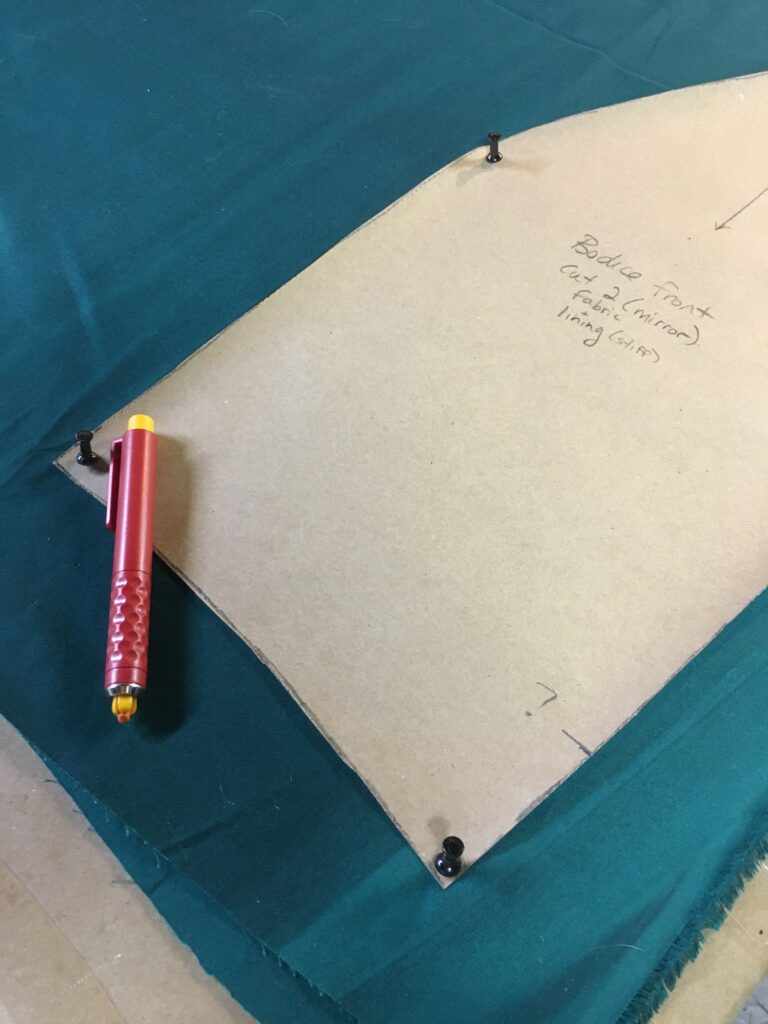
I chalk my pattern size directly onto the cloth, and leave seam allowance. The chalk line is the place I want the stitches to go. I’m using some old cotton/polyester fabric I had lying around, because I don’t have any use for it and I just need to make a copy for alterations, my mock up.

Because the table has cork, I can pushpin the pattern through the cloth to the table. I would use this method to ensure I can cut multiple layers at once.

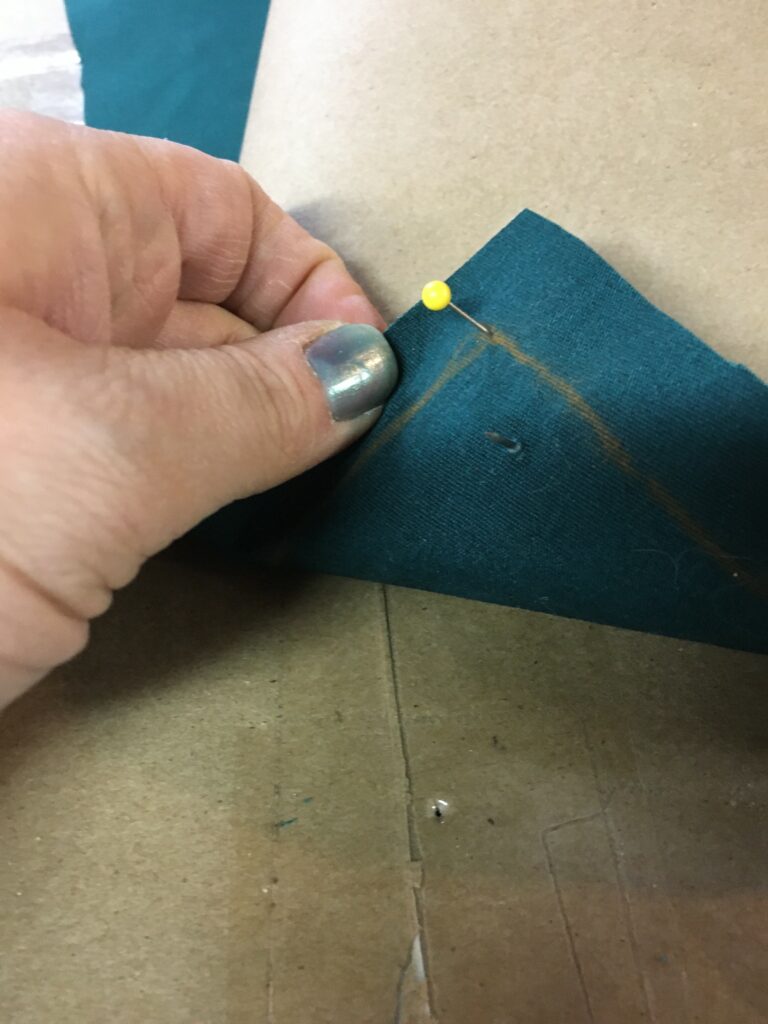
Because I need the chalk marks on both sides, for accurate sewing, I use a pin to push through the corner, and line up my pattern piece again on the other side. Remove one pin at a time, so your fabric doesn’t shift.

Once I have two or three corners marked out, the pattern will fall into place. I always check for left behind pins, so I don’t wobble or measure incorrectly.

The pieces are all cut, marked and ready to be sewn together. Then I can fit them.

Here’s another feeling I already have. This sleeve is too long. The cuff will likely extend past my fingers. I will have to nudge it around, and then I will use the pieces to make the individual parts of the sleeve, as the source shows segments with puffing undershirt and strings attaching it.
And there you have my adventure in patterning this pieces. Now, to put it on and see how close I got!


I am curious to hear how you solved the sleeves. I think I would have cut off the cuff and sewn it back on.
I hope your week went well!