Since I missed Sunday’s post, this post is going to be pretty big, but the outfit is finished!
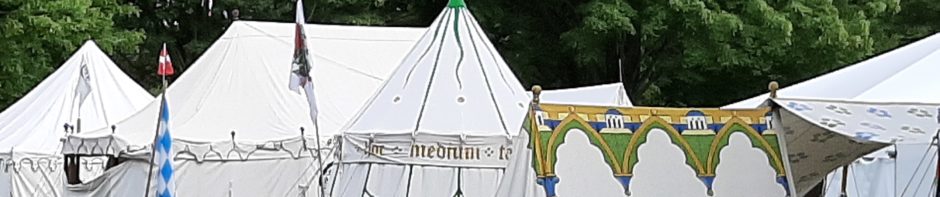
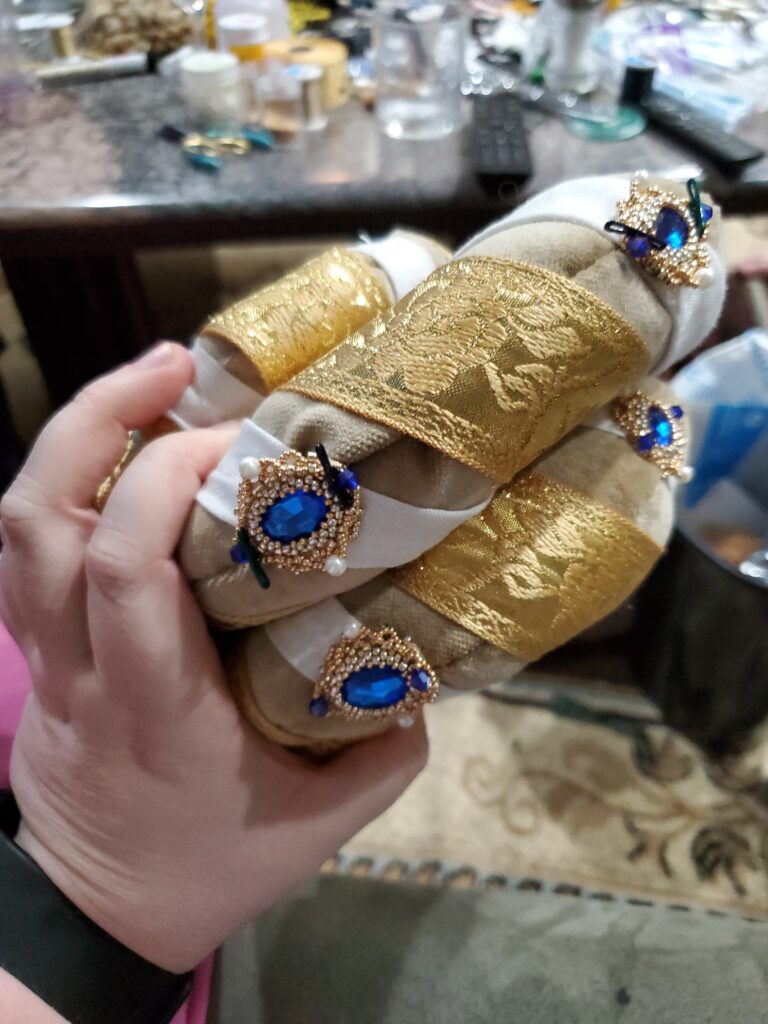
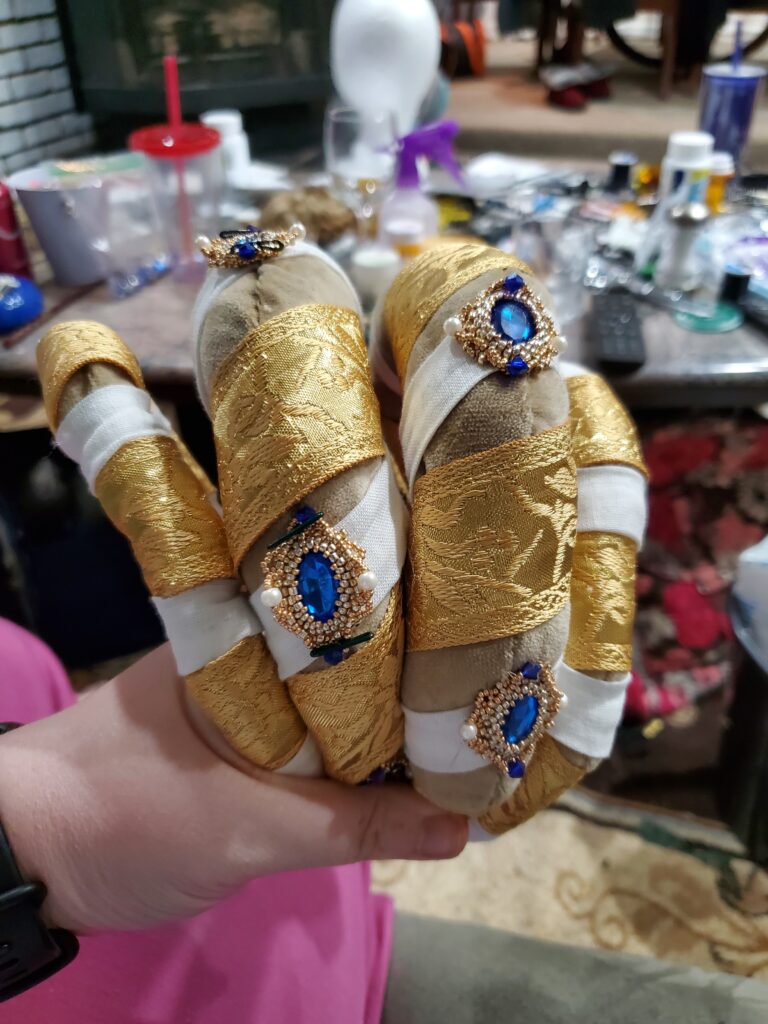
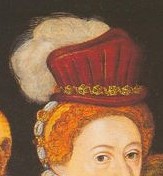
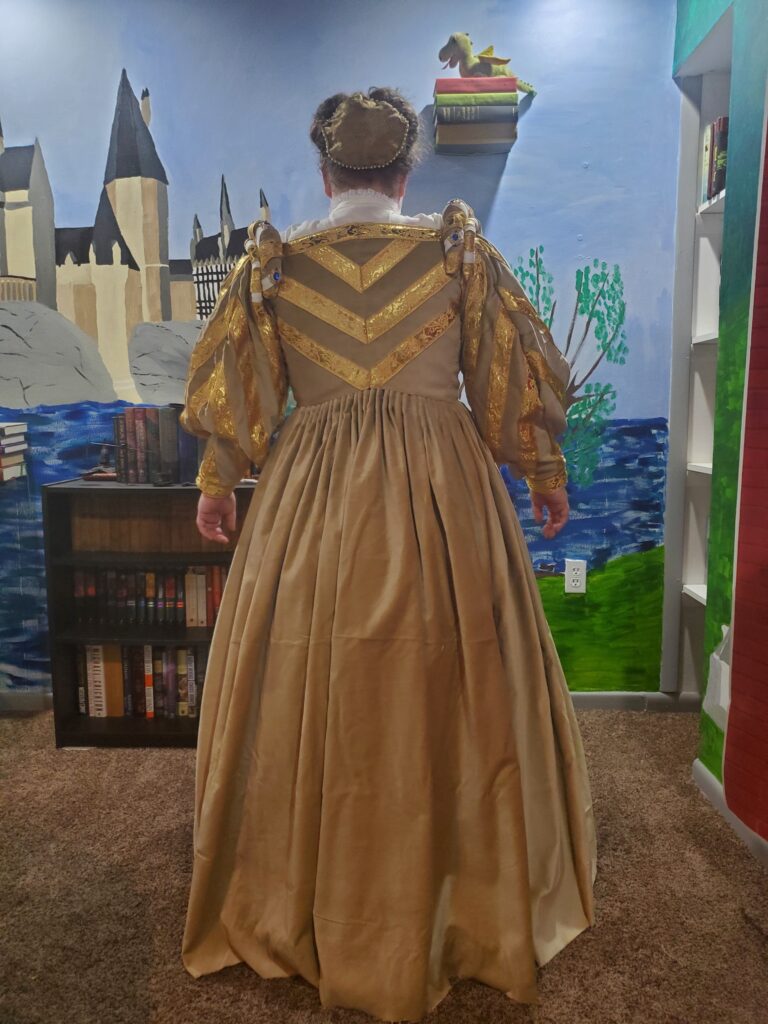
At last post, I was finishing the second sleeve. Once the sleeves were attached, it was time to start on the shoulder rolls. If you look at the original painting, there are two pairs of these.
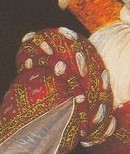
I made the shoulder rolls out of the base dress fabric first, then applied the trim and white linen “poofs” before seaming up the bottom. Then I sewed on the brooches with matching thread, and attached them to the gown using a curved needle and the same heavy linen thread that I used for the pleating. This was my first time doing it this way, and I’m really happy with how much easier it was.


Now, with the dress done, all that’s left is accessories! In this case, that mean two hats and 3 ruffs, none of which I had ever tried before.
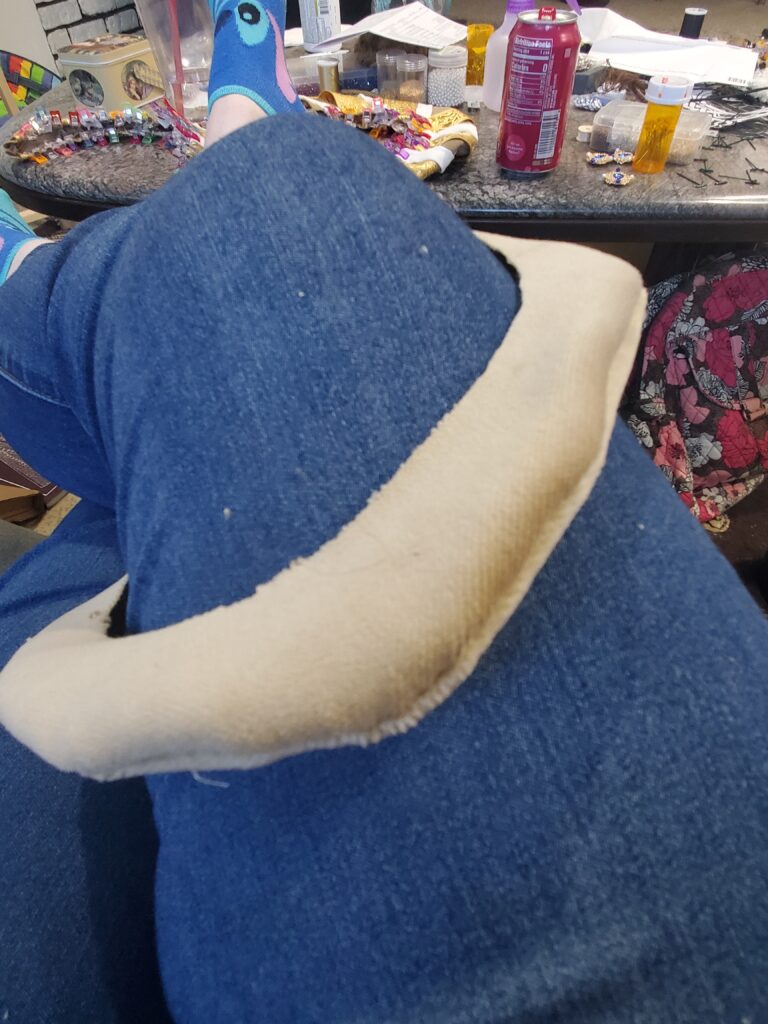
The first hat is really more of a hair covering. You can really only see the edge of it in the painting. It sits on the back of the model’s head.
Fortunately the construction for this piece was pretty easy. I cut a large circle of my base fabric, and a piece of ribbon long enough to go around my hairpiece. Gathered the circle onto the ribbon, rolled the hem and added trim.


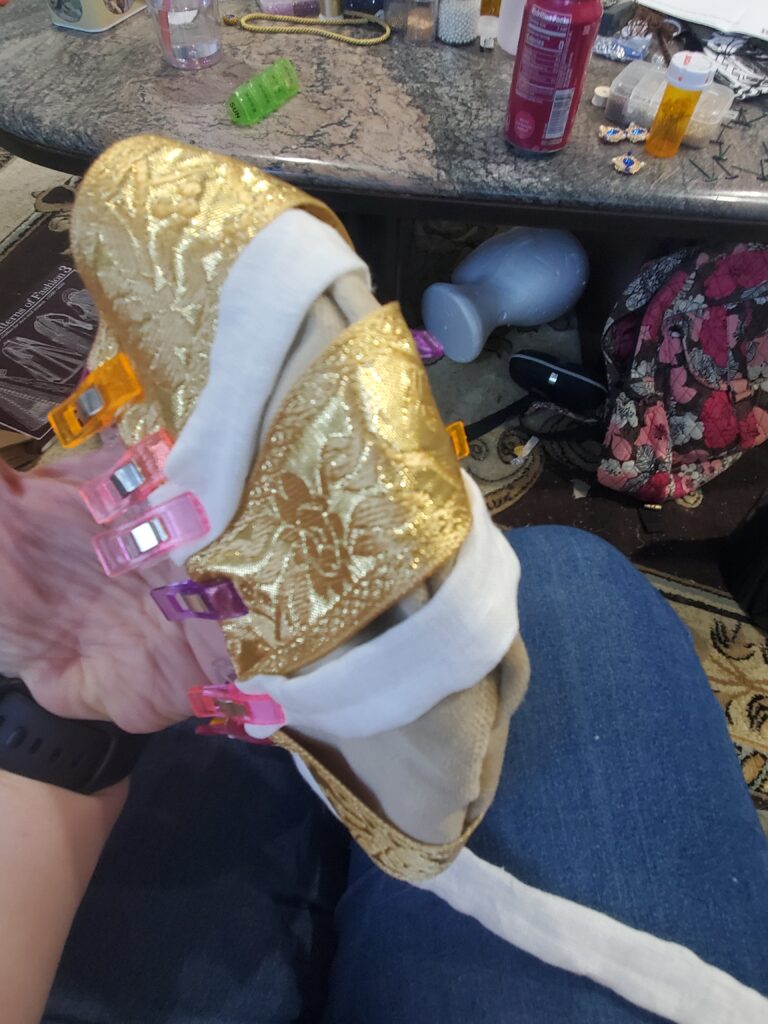
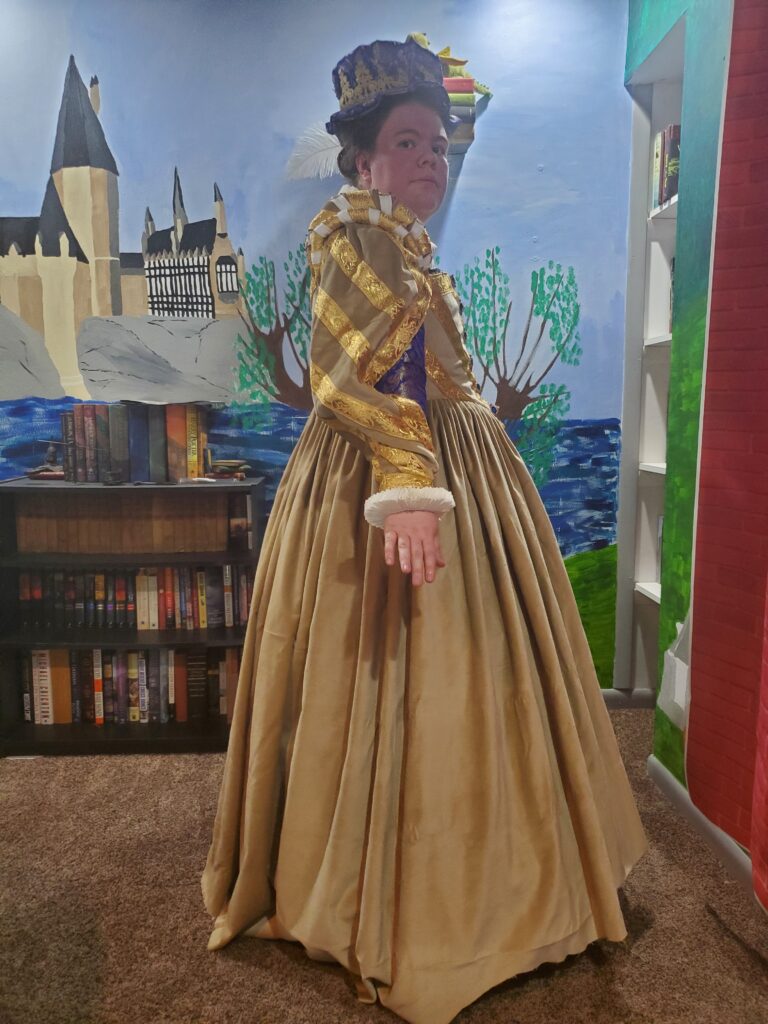
The other hat is a style called an Italian bonnet, and it is basically a big circle of fabric gathered onto the brim. I’m going to admit that this one was a bit more fiddly, and I got distracted and forgot to take pictures of the process.

The ruffs were constructed from the same fine white linen as the partlet, and sewn with linen thread. The process is pretty straightforward, but similar to the bonnet- in practice it gets a bit fiddly. The idea is that you take a really, really, really long strip of linen and gather it onto a band.
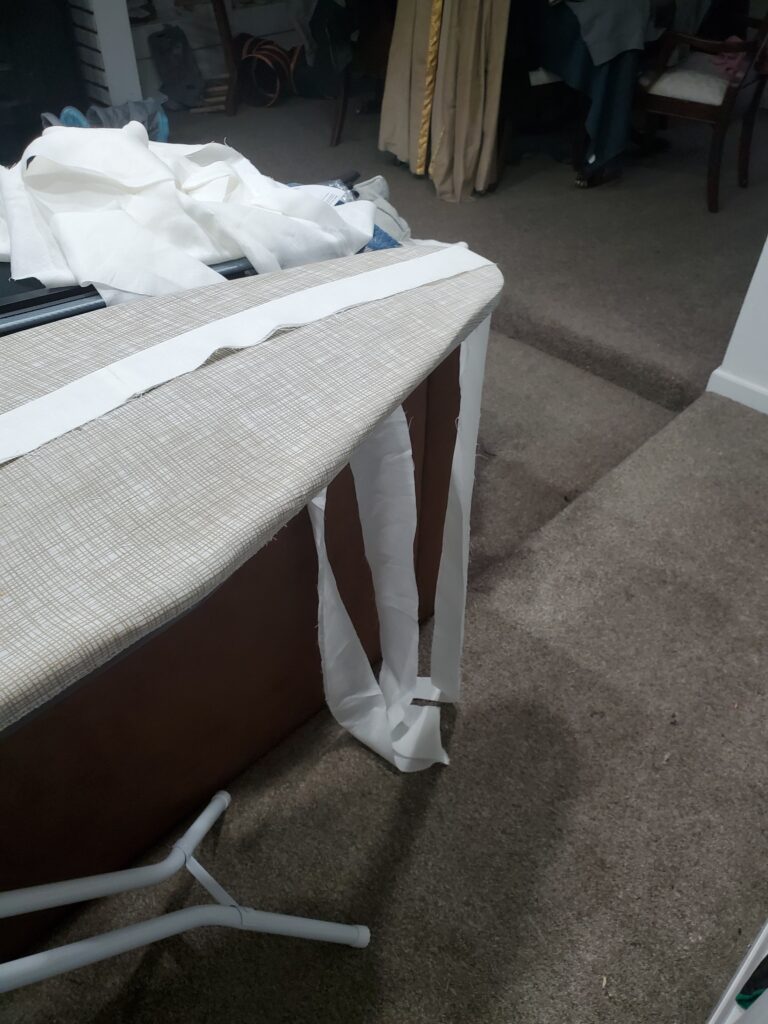
A 1″ band for the cuffs that was 8″ long finished took up 9 feet of linen pleats. The 18″ neck ruff took 22.5 feet! for stability, I made each band from two layers of linen, and attached two hooks and eyes.


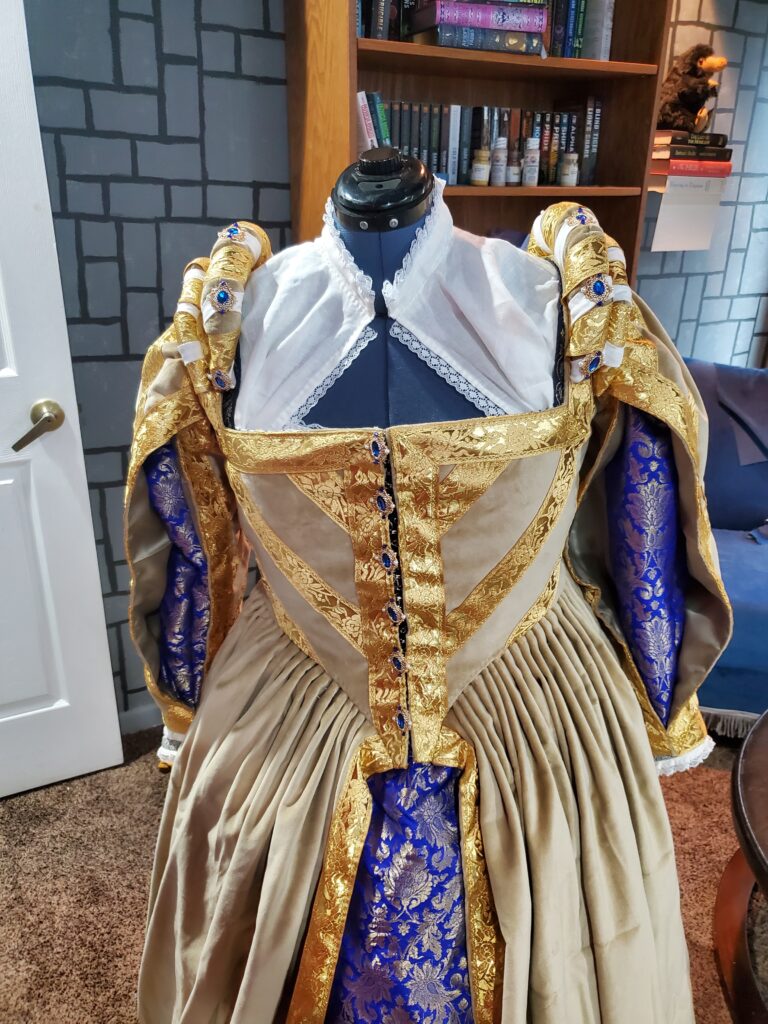
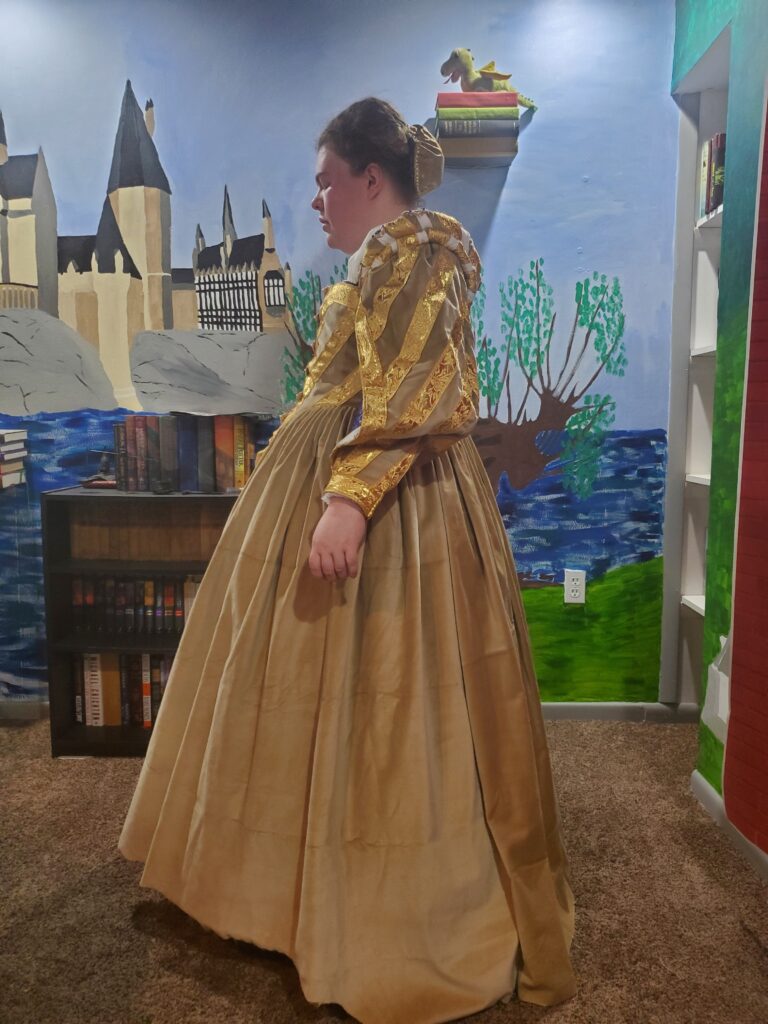
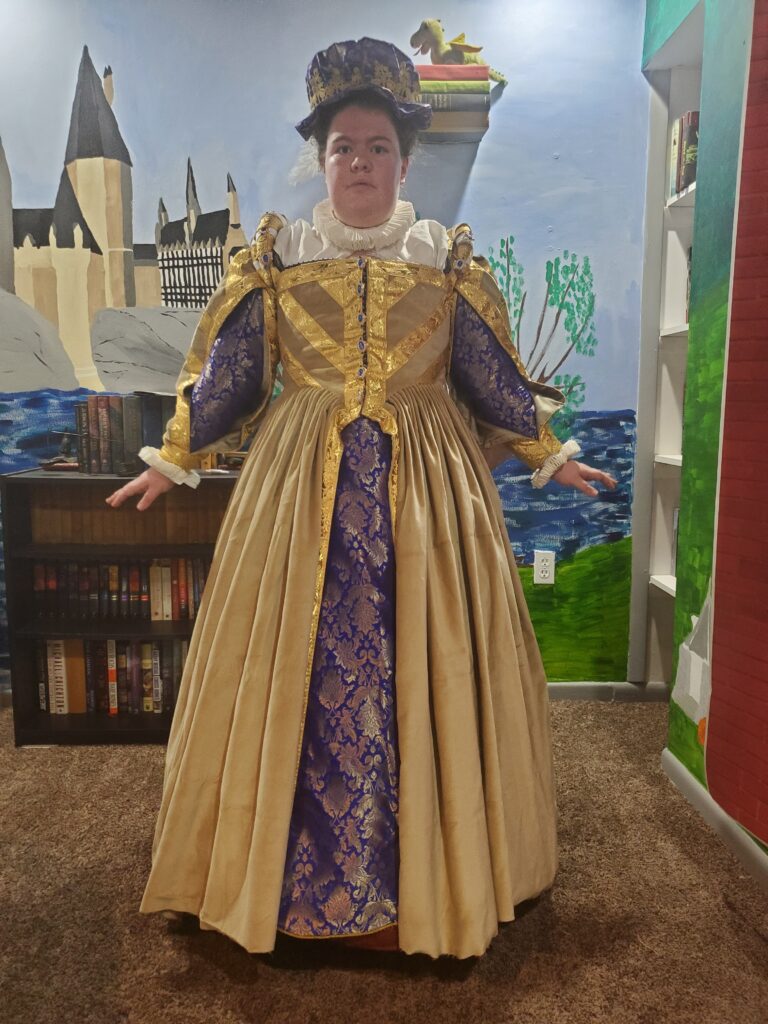
All put together, Here is the full outfit!


I also have a little bonus to wrap up this project. My husband helped me film a video of the dressing process for this gown. I hope this gives a better idea of how everything goes together.

Hurray! You finished a very large scale project with lots and lots of pieces.
A couple of questions. How did you stiffen the brim of your hat? Will you wire it so it flattens out? And have you looked at POF 4, which shows ruff construction?
I am looking forward to seeing it on you tomorrow. Well done.
Fionna
I haven’t decided yet whether I was to wire it or add a layer of buckram. I want to do more research first.
I do have patterns of fashion 4, this was actually modified off the instructions on page 85. I wanted a narrower band so I tweaked it
I haven’t decided yet whether I was to wire it or add a layer of buckram. I want to do more research first.
I do have patterns of fashion 4, this was actually modified off the instructions on page 85. I wanted a narrower band so I tweaked it
When I measured my neck, I thought a two inch band would be too tall. In retrospect I think it would have been fine.