
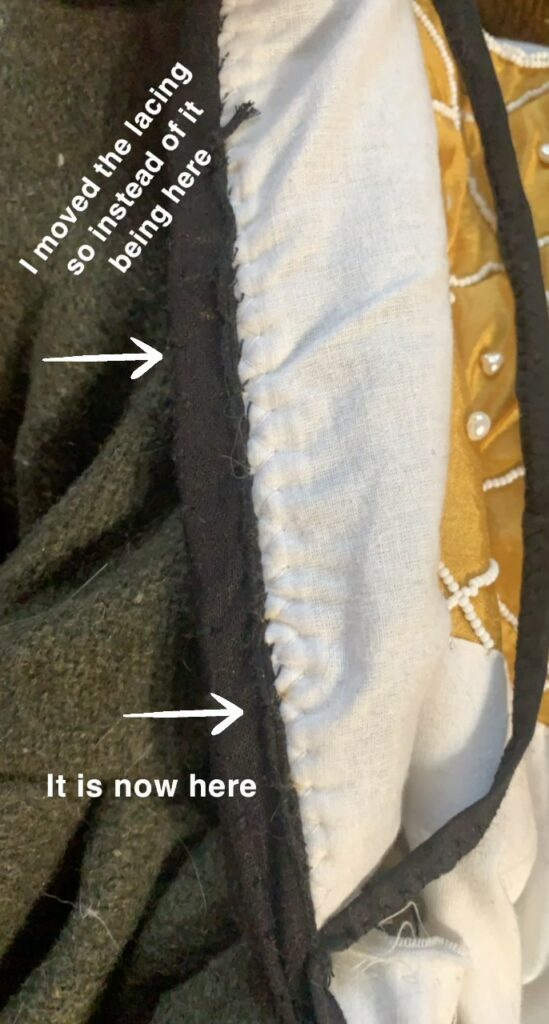
Lacings:
I at first put the corded eyelets on the very edge of my seam and drew the dress closed that way. However, because the cord was on the edge the tension from the lacings pulled, created an effect I did not want. As seen in the photo below.
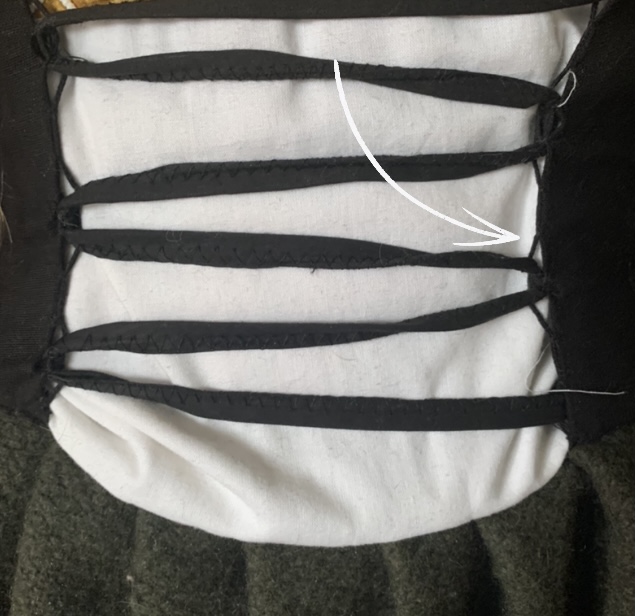
To fix this I moved the eyelet cord inside more. I hope this will solve my problem, and prevent the tension from showing
Sleeves:
My sleeves were a bit floppy when I finished them and I wasn’t quite sure how to fix it. Then I got some good advice to pin the puffs on the inside, so that is what I did. They now look a lot better 🙂
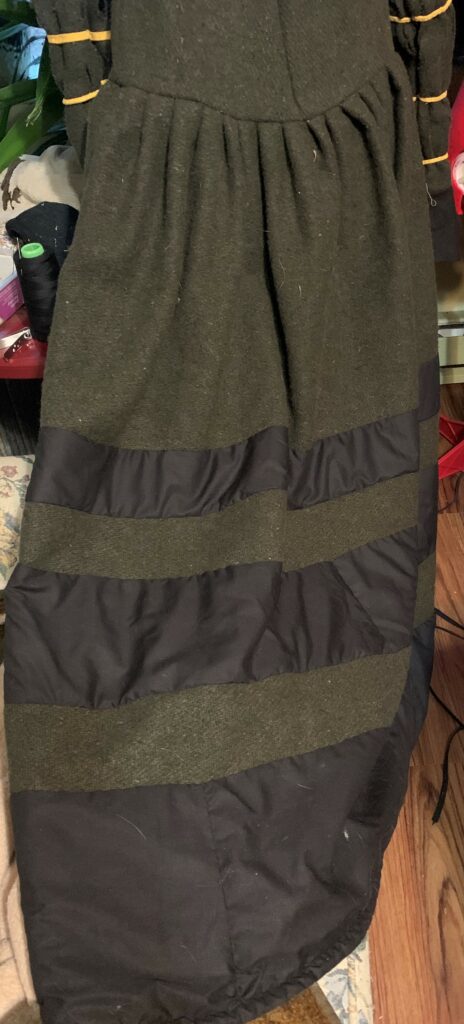
Trim:
Finally finished the trim, which consists of three stripes that gradually get smaller towards the top.
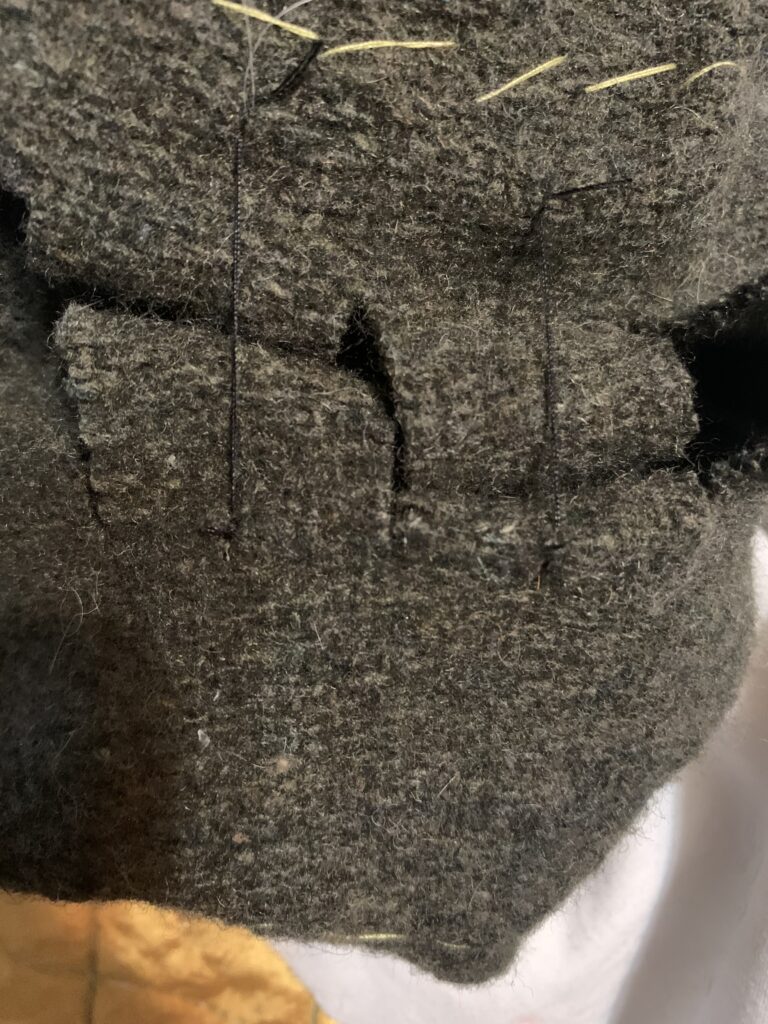
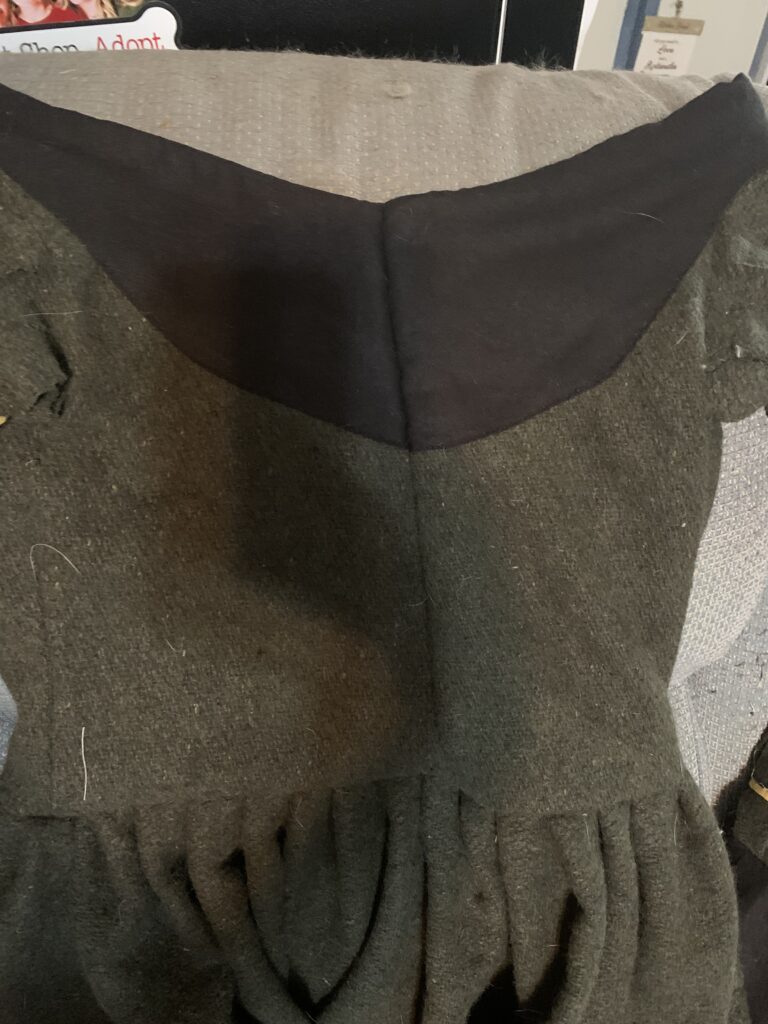
Bodice:
For this entire project I have been unable to determine the reason for the weird fit of the bodice. At first I thought it wasn’t tight enough but that was not it so I kept searching. I finally came to the realization that I made the shoulder too wide. This was the cause of the constant falling off of the shoulder and the weird extra fabric around the bust. So, although I did not want/plan to, I added a seam to the back of the bodice.
Although the seam doesn’t look the best, nor had I planned for it, the dress looks and sits much better on my sisters figure so it’s not all that bad. These past few weeks I’ve learned so much, and had a lot of fun creating something different! Thank you to everyone that commented and helped me along the way 🙂

I’m eager to see how your solution for the lacing cord issue works. And I think that adding the seam in the back of the bodice was the best way, at this point of construction, to fix the fit issue. Great problem-solving!
Thank you! 🙂
I’m in agreement with Elizabeth, the back seam is a brilliant fix. On a future project of this type, try taking your shoulder seams and move them over to the back side of the shoulders. It makes it easier to create the curve over the arm to the shoulder than by doing a seam on the top of the shoulder. I cannot see where you have placed your seam on this fabric, and you may have done just as I have suggested. It will also help with the bunching of fabric at the front by the lower part of the arm hole.
Thank you so much, that makes me feel a lot better about it! and I do have the shoulder seam directly on the shoulder so next time will try to move the seam back. I had never thought about doing that before thank you for suggesting it!